Warning: You are browsing the documentation for PrestaShop 1.7, which is outdated.
You might want to read an updated version of this page for the current version, PrestaShop 9. Read the updated version of this page
How to add layout variables from a module
You can add your own layout variables which may be used in you custom template. To demonstrate this feature we assume you already have added you custom layout to a theme (see How to add a layout in a theme from a module).
Here is an example of a layout using a customMessage variable.
Layout
{# modules/my_email_theme_module/mails/layout/customizable_modern_layout.html.twig #}
{% extends '@MailThemes/modern/components/layout.html.twig' %}
{% block content %}
<table width="100%">
<tr>
<td align="center" class="titleblock">
<font size="2" face="{{ languageDefaultFont }}Open-sans, sans-serif" color="#555454">
<span class="title">{{ 'This is an example mail template from my module for modern theme'|trans({}, 'EmailsBody', locale)|raw }}</span>
</font>
</td>
</tr>
<tr>
<td align="center" class="titleblock">
<font size="2" face="{{ languageDefaultFont }}Open-sans, sans-serif" color="#555454">
<span class="subtitle">{{ customMessage }}</span>
</font>
</td>
</tr>
<tr>
<td class="space_footer"> </td>
</tr>
</table>
{% endblock %}
Using the hook
Now you need to add your variables for this specific layout, in order to do so you will use
the actionBuildMailLayoutVariables hook.
<?php
use PrestaShop\PrestaShop\Core\MailTemplate\Layout\LayoutVariablesBuilderInterface;
use PrestaShop\PrestaShop\Core\MailTemplate\Layout\LayoutInterface;

class MyEmailThemeModule extends Module
{
    public function install()
    {
        return parent::install()
            // This class constant contains 'actionBuildMailLayoutVariables'
            && $this->registerHook(LayoutVariablesBuilderInterface::BUILD_MAIL_LAYOUT_VARIABLES_HOOK)
        ;
    }

    public function uninstall()
    {
        return parent::uninstall()
            && $this->unregisterHook(LayoutVariablesBuilderInterface::BUILD_MAIL_LAYOUT_VARIABLES_HOOK)
        ;
    }

    public function enable()
    {
        return parent::enable()
            && $this->registerHook(LayoutVariablesBuilderInterface::BUILD_MAIL_LAYOUT_VARIABLES_HOOK)
        ;
    }

    public function disable()
    {
        return parent::disable()
            && $this->unregisterHook(LayoutVariablesBuilderInterface::BUILD_MAIL_LAYOUT_VARIABLES_HOOK)
        ;
    }

    /**
     * @param array $hookParams
     */
    public function hookActionBuildMailLayoutVariables(array $hookParams)
    {
        if (!isset($hookParams['mailLayout'])) {
            return;
        }

        /** @var LayoutInterface $mailLayout */
        $mailLayout = $hookParams['mailLayout'];
        if ($mailLayout->getModuleName() != $this->name || $mailLayout->getName() != 'customizable_modern_layout') {
            return;
        }

        $hookParams['mailLayoutVariables']['customMessage'] = 'My custom message';
    }
}
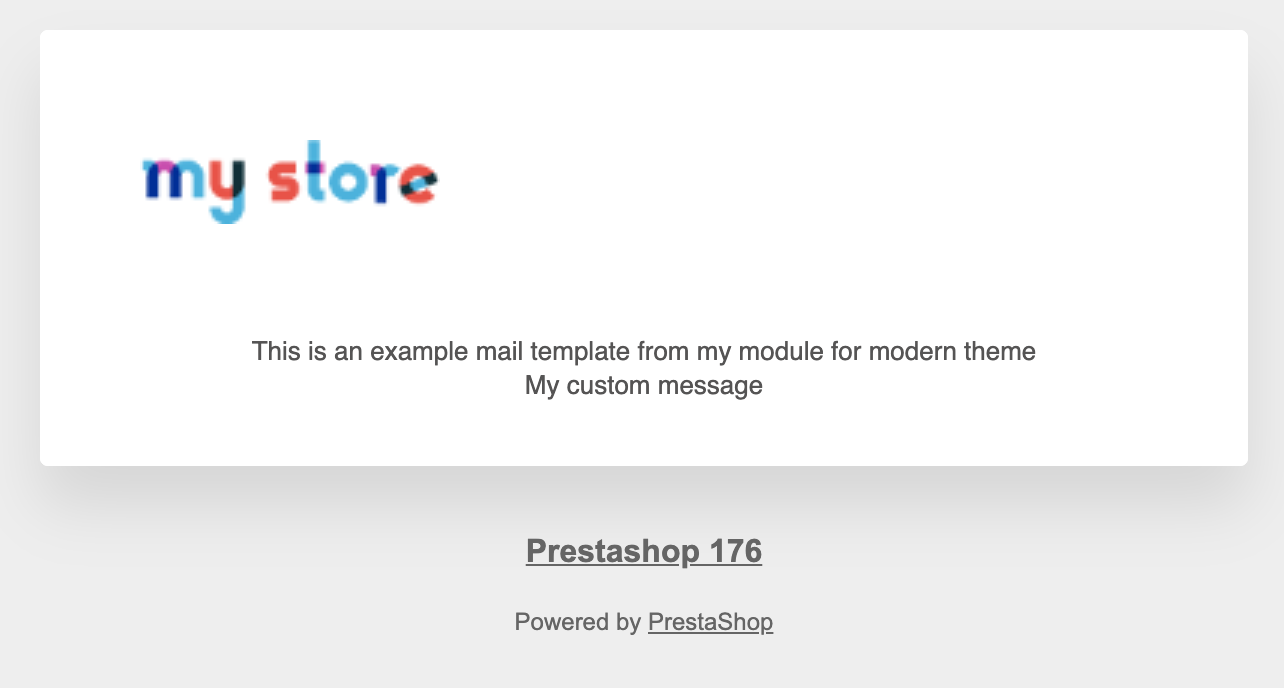
You can then go to the “Design > Email Theme” page and preview your layout you will see that your message has been inserted in your template.
