Warning: You are browsing the documentation for PrestaShop 1.7, which is outdated.
You might want to look at the current version, PrestaShop 9. Read the updated version of the documentation
Templates & layouts
PrestaShop template file are based on the Smarty 3 template engine.
All template files must be stored in the theme’s templates/ subfolder. For instance, the default theme
has its template files in the following folder: /themes/classic/templates.
Directory structure
Templates are then split between various subfolders.
- /_partials/
- Code shared accross the whole site like header, footer or notifications.
- /catalog/
- Product page, product/brand/supplier listing, search result and such.
- /checkout/
- Cart, delivery options, payment options, order confirmations and such.
- /cms/
- All the static content: contact, sitemap, CMS pages and such.
- /customer/
- Everything about the customer’s account and its data.
- /errors/
- All the error templates: not found, server error, forbidden and such.
- /layouts/
- The theme layouts: 1, 2 or more columns, full width, everything is possible.
Template files should be written so that a single .tpl can generate a whole HTML page – unless they are
inside a _partials folder or subfolder (see our coding standard, linked from the Prologue chapter
of this documentation).
Templates
We make a clear difference between templates and layout.
- A template extends a layout
- The layout holds the global organization of the page
- A template a specify to a feature: the product page for example
There are many templates in a PrestaShop theme, the main ones includes:
- index.tpl for the home page
- catalog/product.tpl for the product page
- catalog/listing/product-list.tpl for any product list page
- checkout/cart.tpl for the detailed cart
- checkout/checkout.tpl for the checkout process
Specific templates
If you’re working on a big store in many languages you may need to change the layout of the page depending on the language.
For example you want a different product page for american customers and japanese ones.
In this case you simply have to create new template product.tpl and place it in
the right folder.
When searching for a template, PrestaShop will check many location to determine which file should be used. It make it very easy to have different template for a given locale or a specific entity id.
With the product page, the core will check the following locations (in order) and return the first template found:
Example with a product with ID = 3 and locale = en-US
en-US/catalog/product-3.tplcatalog/product-3.tplen-US/catalog/product.tplcatalog/product.tpl
Another example with category template for the category with ID = 9 and locale = en-US.
en-US/catalog/listing/category-9.tplcatalog/listing/category-9.tplen-US/catalog/listing/category.tplcatalog/listing/category.tplen-US/catalog/listing/product-list.tplcatalog/listing/product-list.tpl
This feature is mostly made for developer working on a custom template for a customer.
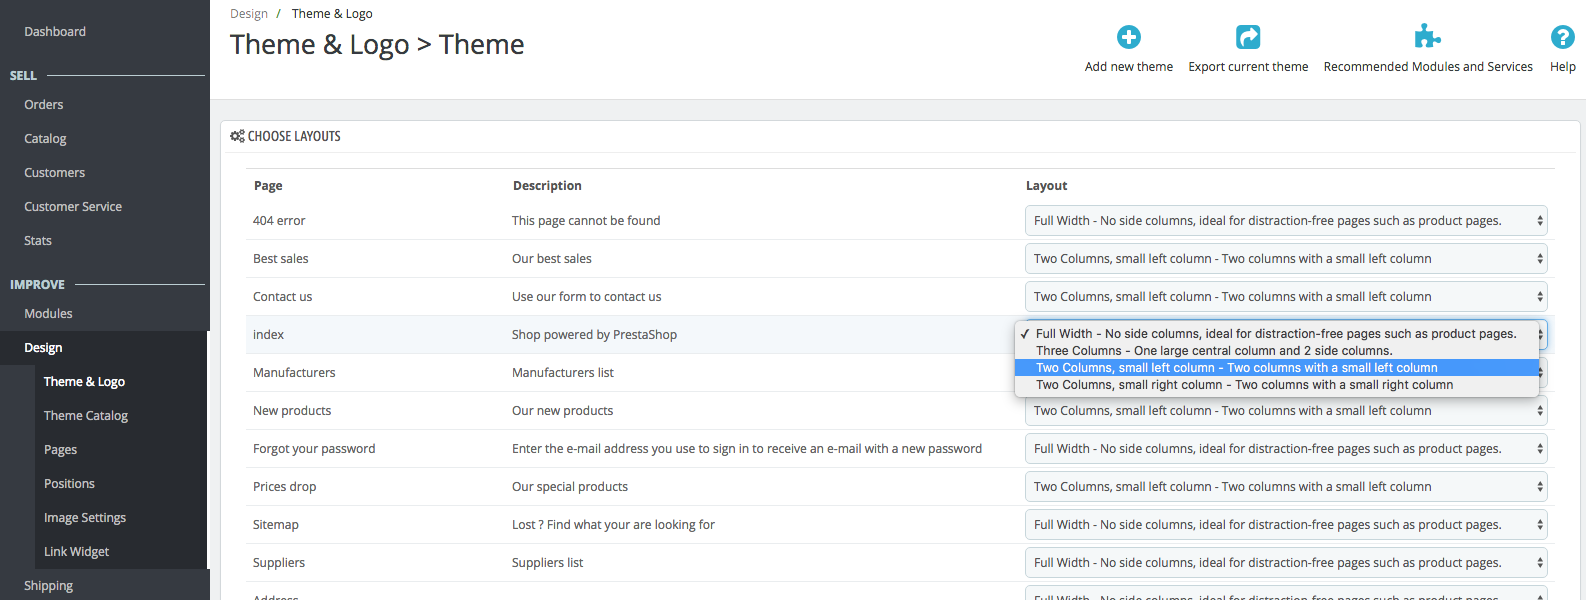
Layouts
The layout is the organisation of the page, the way in which the parts of your design are arranged. The typical example is the sidebar: is there a sidebar on your category page or is your product listing is taking the whole space.
With PrestaShop 1.7, user are given the ability to change the layout of each page independantly. As a template developer, it’s your role to ensure your theme is compatible.
What’s in a layout file
The layout is the very top level of the template inheritance
tree. Basically it hold the opening and closing <html> tags.
Typical layout files look like the following snippet. This one is a full one
    <!doctype html>
    <html lang="{$language.iso_code}">

    <head>
      {block name='head'}
        {include file='_partials/head.tpl'}
      {/block}
    </head>

    <body id="{$page.page_name}" class="{$page.body_classes|classnames}">

      {hook h='displayAfterBodyOpeningTag'}

      <main>

        <header id="header">
          {block name='header'}
            {include file='_partials/header.tpl'}
          {/block}
        </header>

        <section id="wrapper">
          <div class="container">

            {block name='breadcrumb'}
              {include file='_partials/breadcrumb.tpl'}
            {/block}

            {block name="left_column"}
              <div id="left-column">
                {if $page.page_name == 'product'}
                  {hook h='displayLeftColumnProduct'}
                {else}
                  {hook h="displayLeftColumn"}
                {/if}
              </div>
            {/block}

            {block name="content_wrapper"}
              <div id="content-wrapper">
                {block name="content"}
                  <p>Hello world! This is HTML5 Boilerplate.</p>
                {/block}
              </div>
            {/block}

          </div>
        </section>

        <footer id="footer">
          {block name="footer"}
            {include file="_partials/footer.tpl"}
          {/block}
        </footer>

      </main>

      {hook h='displayBeforeBodyClosingTag'}

      {block name='javascript_bottom'}
        {include file="_partials/javascript.tpl" javascript=$javascript.bottom}
      {/block}

    </body>

    </html>
From there, each part of the theme will do its job and replace content inside these bricks, keeping the same organization.