Warning: You are browsing the documentation for PrestaShop 8, which is outdated.
You might want to read an updated version of this page for the current version, PrestaShop 9. Read the updated version of this page
How to edit a page on GitHub
Editing a page on GitHub is the most straight-forward way of contributing content to PrestaShop DevDocs.
- The good: you don’t need to have anything installed.
- The bad: even if GitHub provides a preview of your markdown code, you won’t be able to see exactly how it will look like on the site (for instance, shortcodes aren’t interpreted by the GitHub preview).
For this tutorial, you will need a GitHub account (free). If you don’t have one, you can create it for free.
To start, click on the “Improve this page” at the top right of the page you want to improve.

Fork (first time only)
The first time you edit this project, you will see a message prompting you to create a fork of the documentation on GitHub:
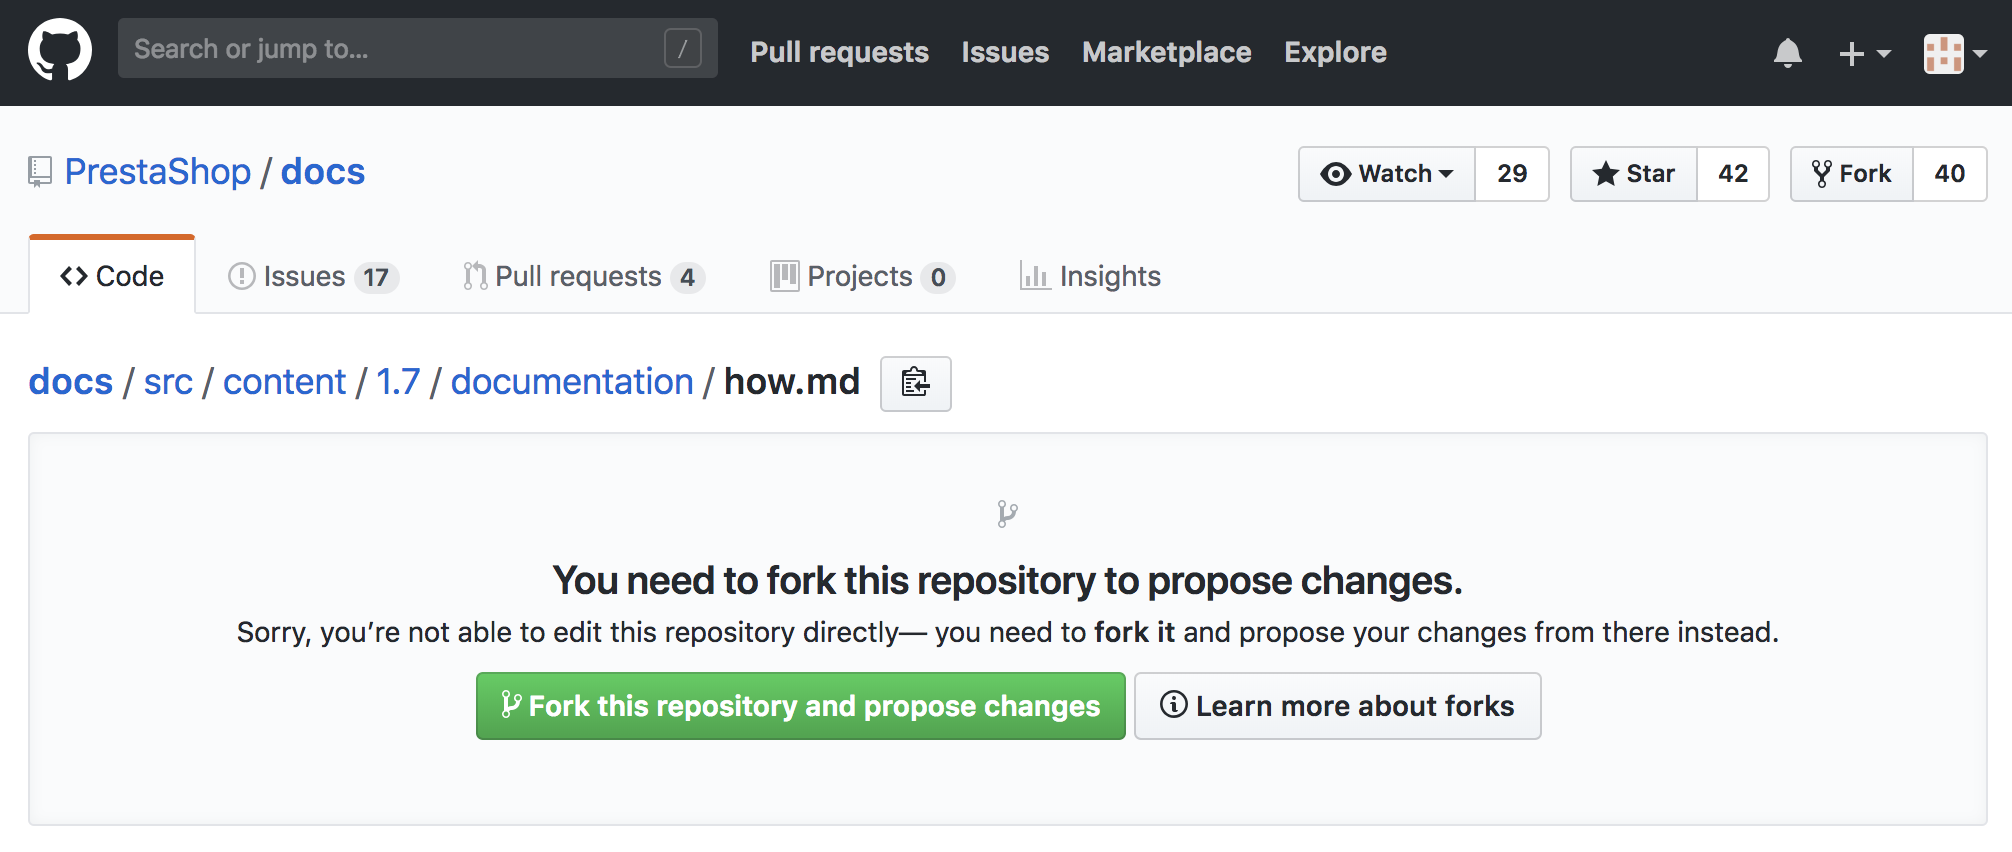
Once you click on the “Fork this repository” button, you can proceed to edit the file.
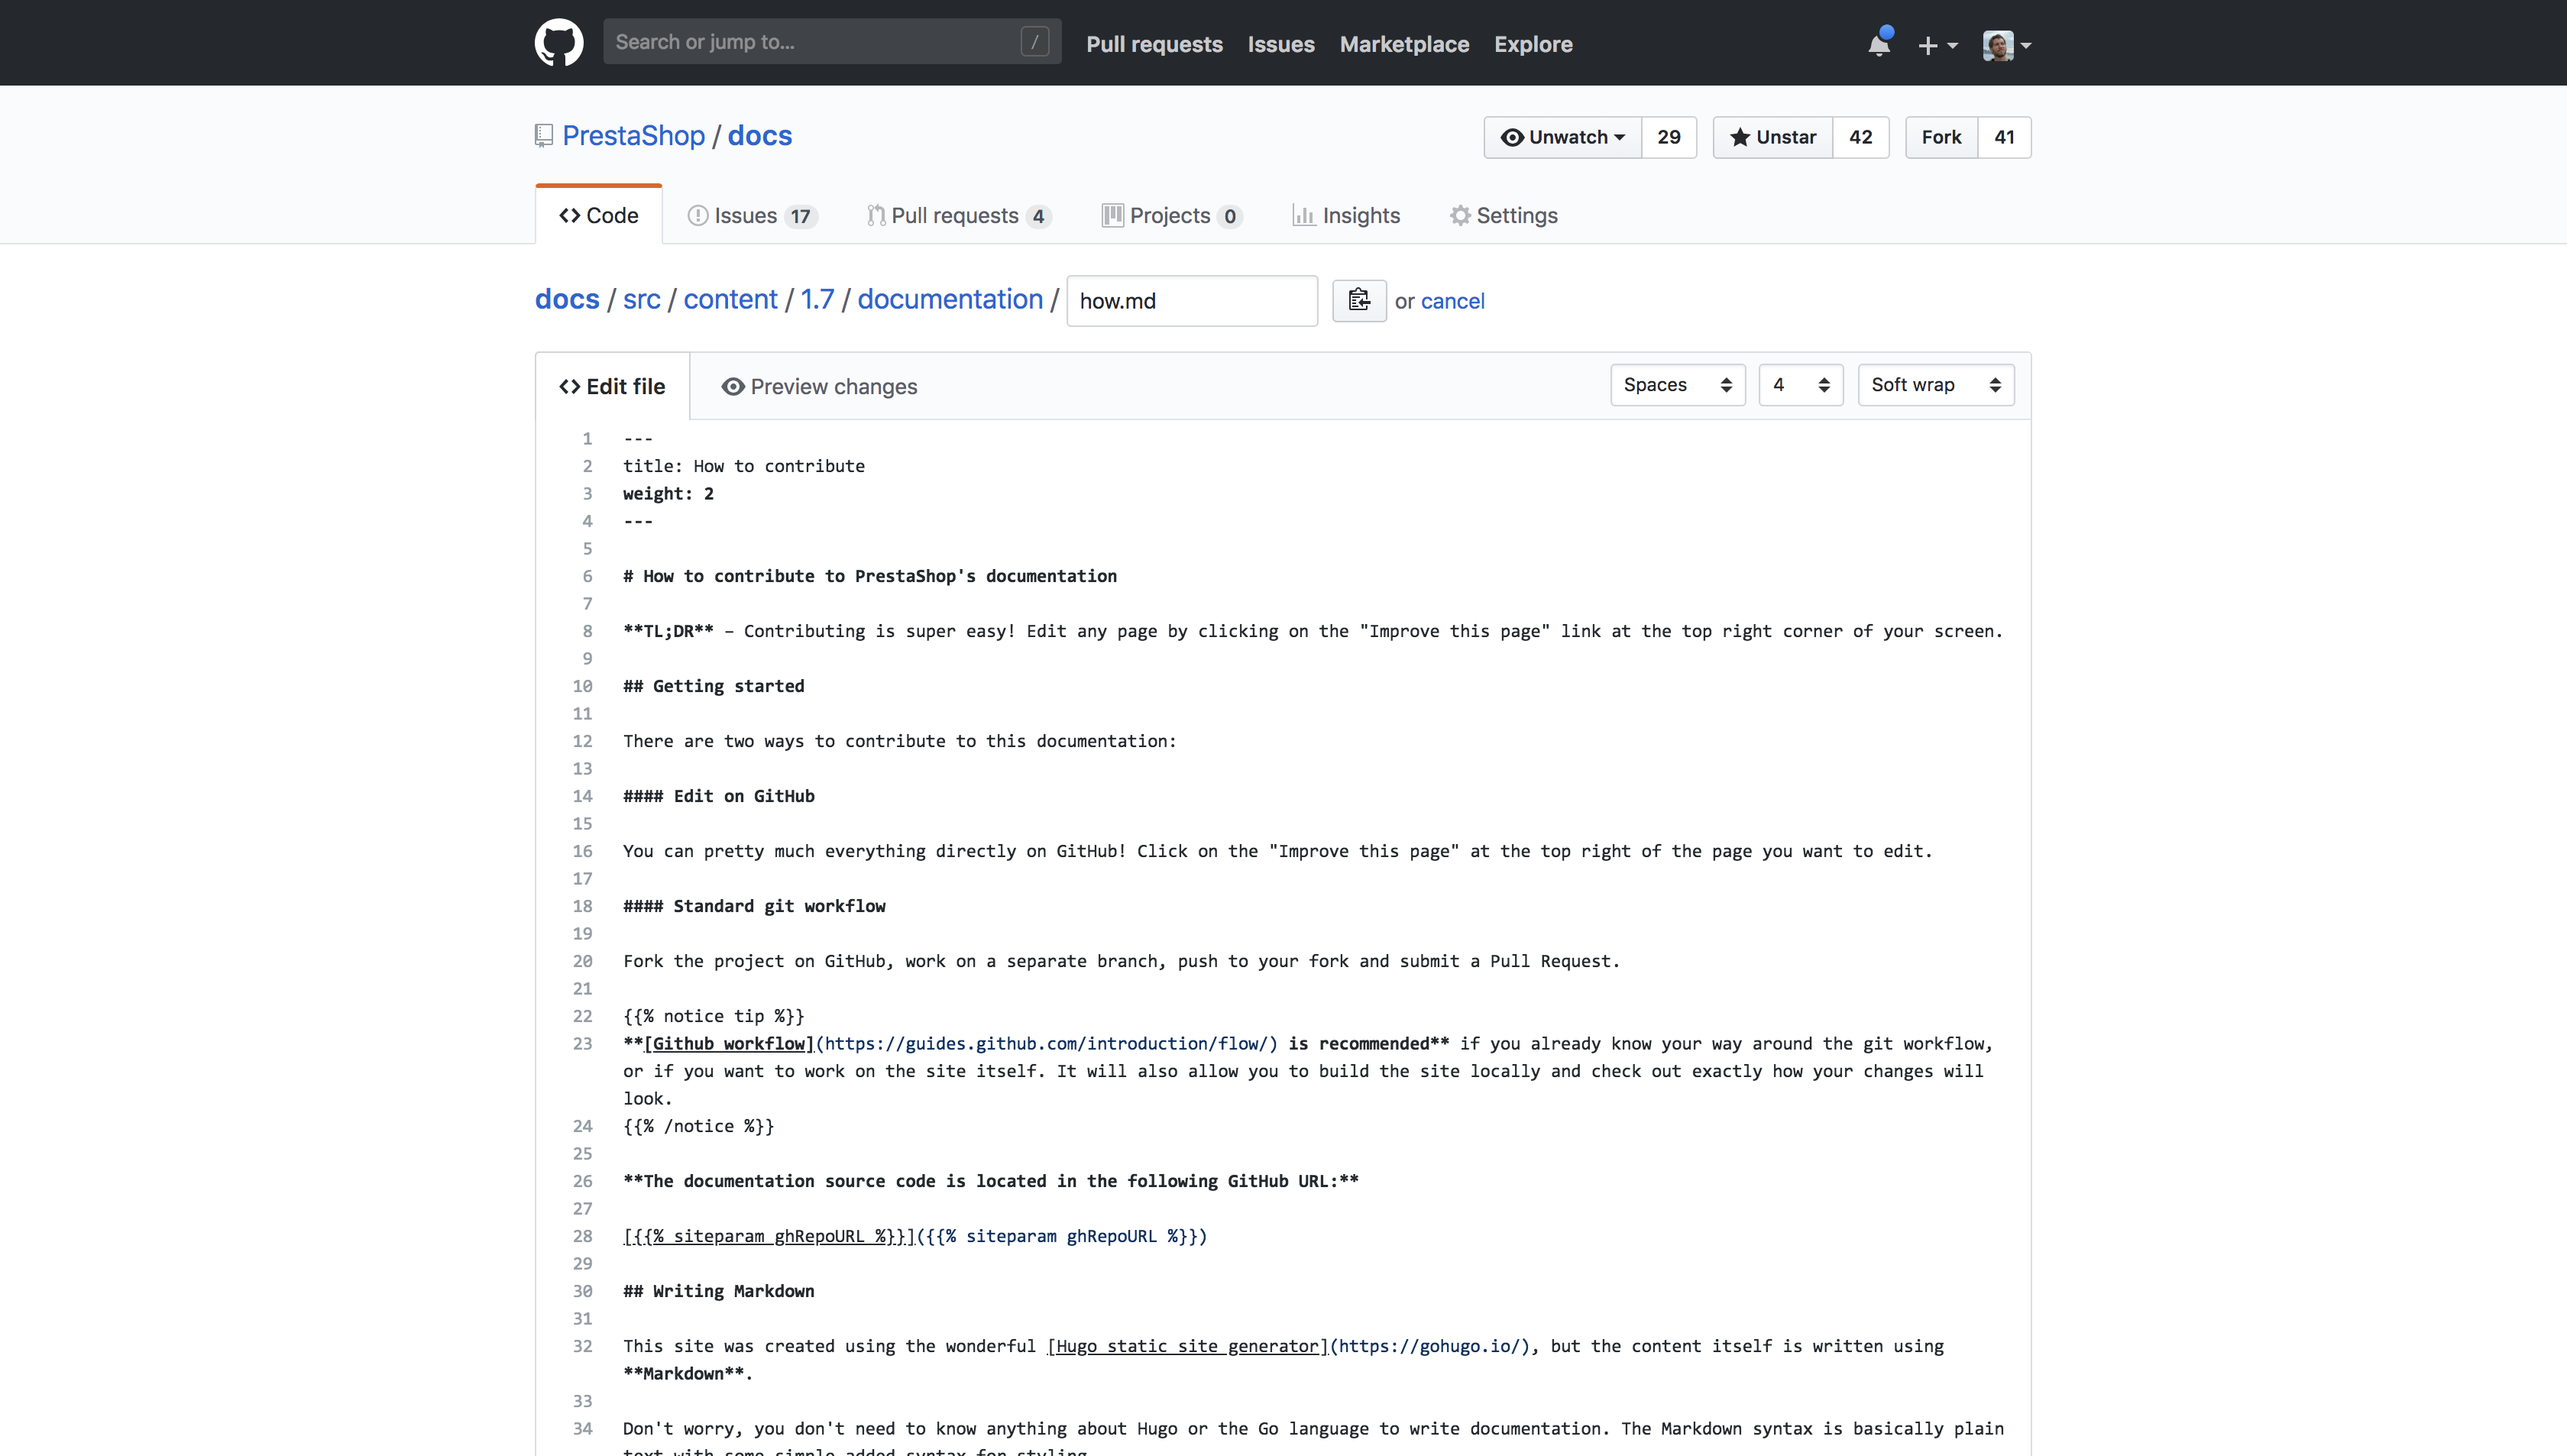
Editing the file
You’ll now be able to edit the file using the GitHub editor. Remember that pages are written using Markdown, a lightweight markup language.
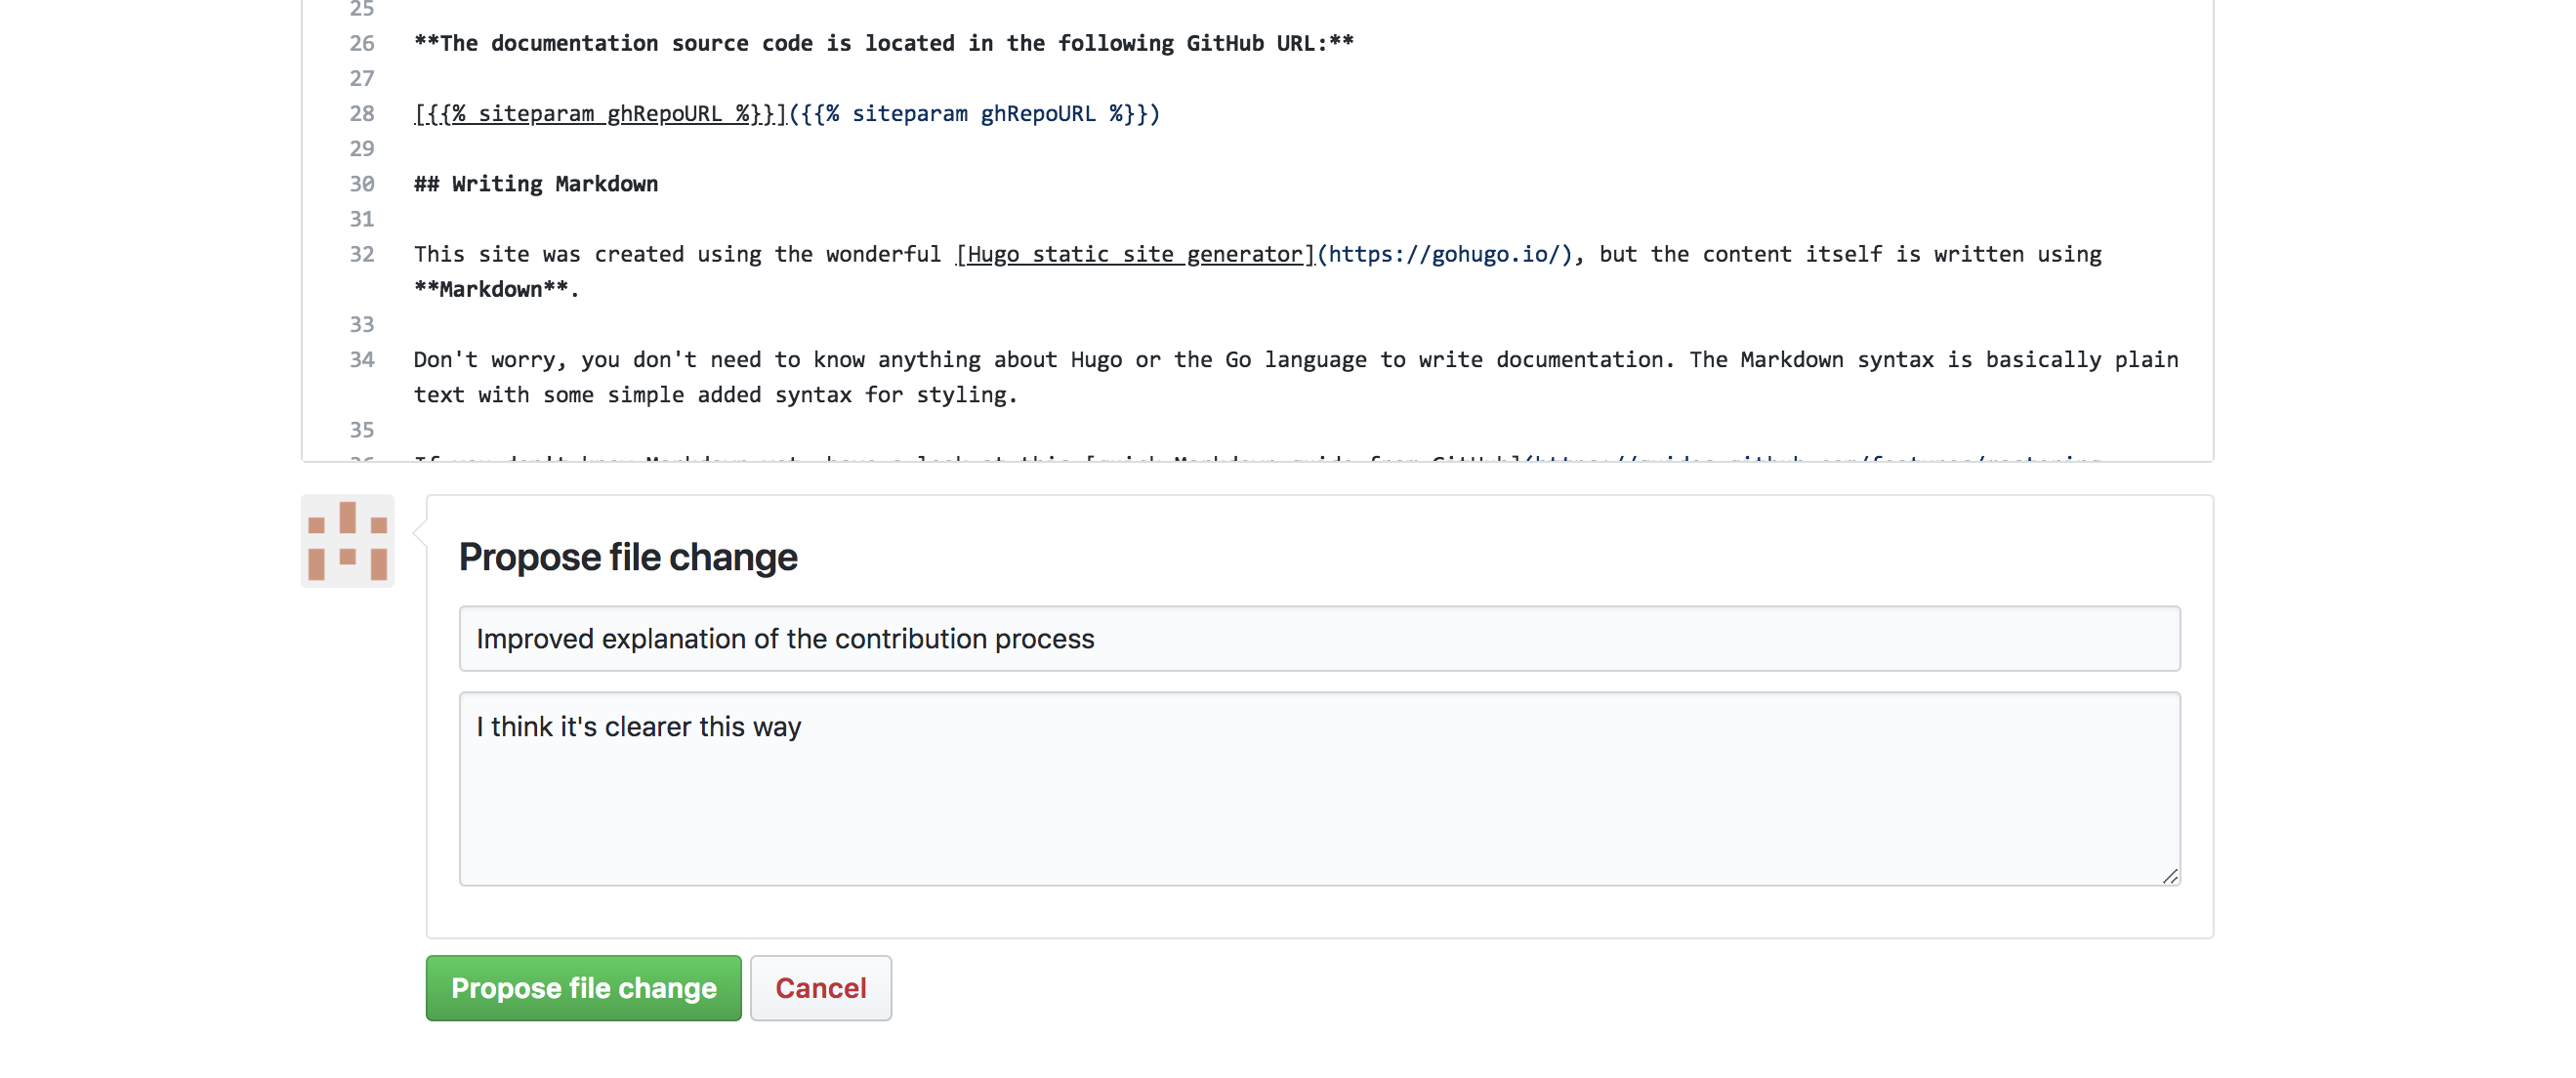
When you are done, scroll down to the bottom of the page to submit your changes. Writing a message explaining what you changed will help everyone keep track of history:
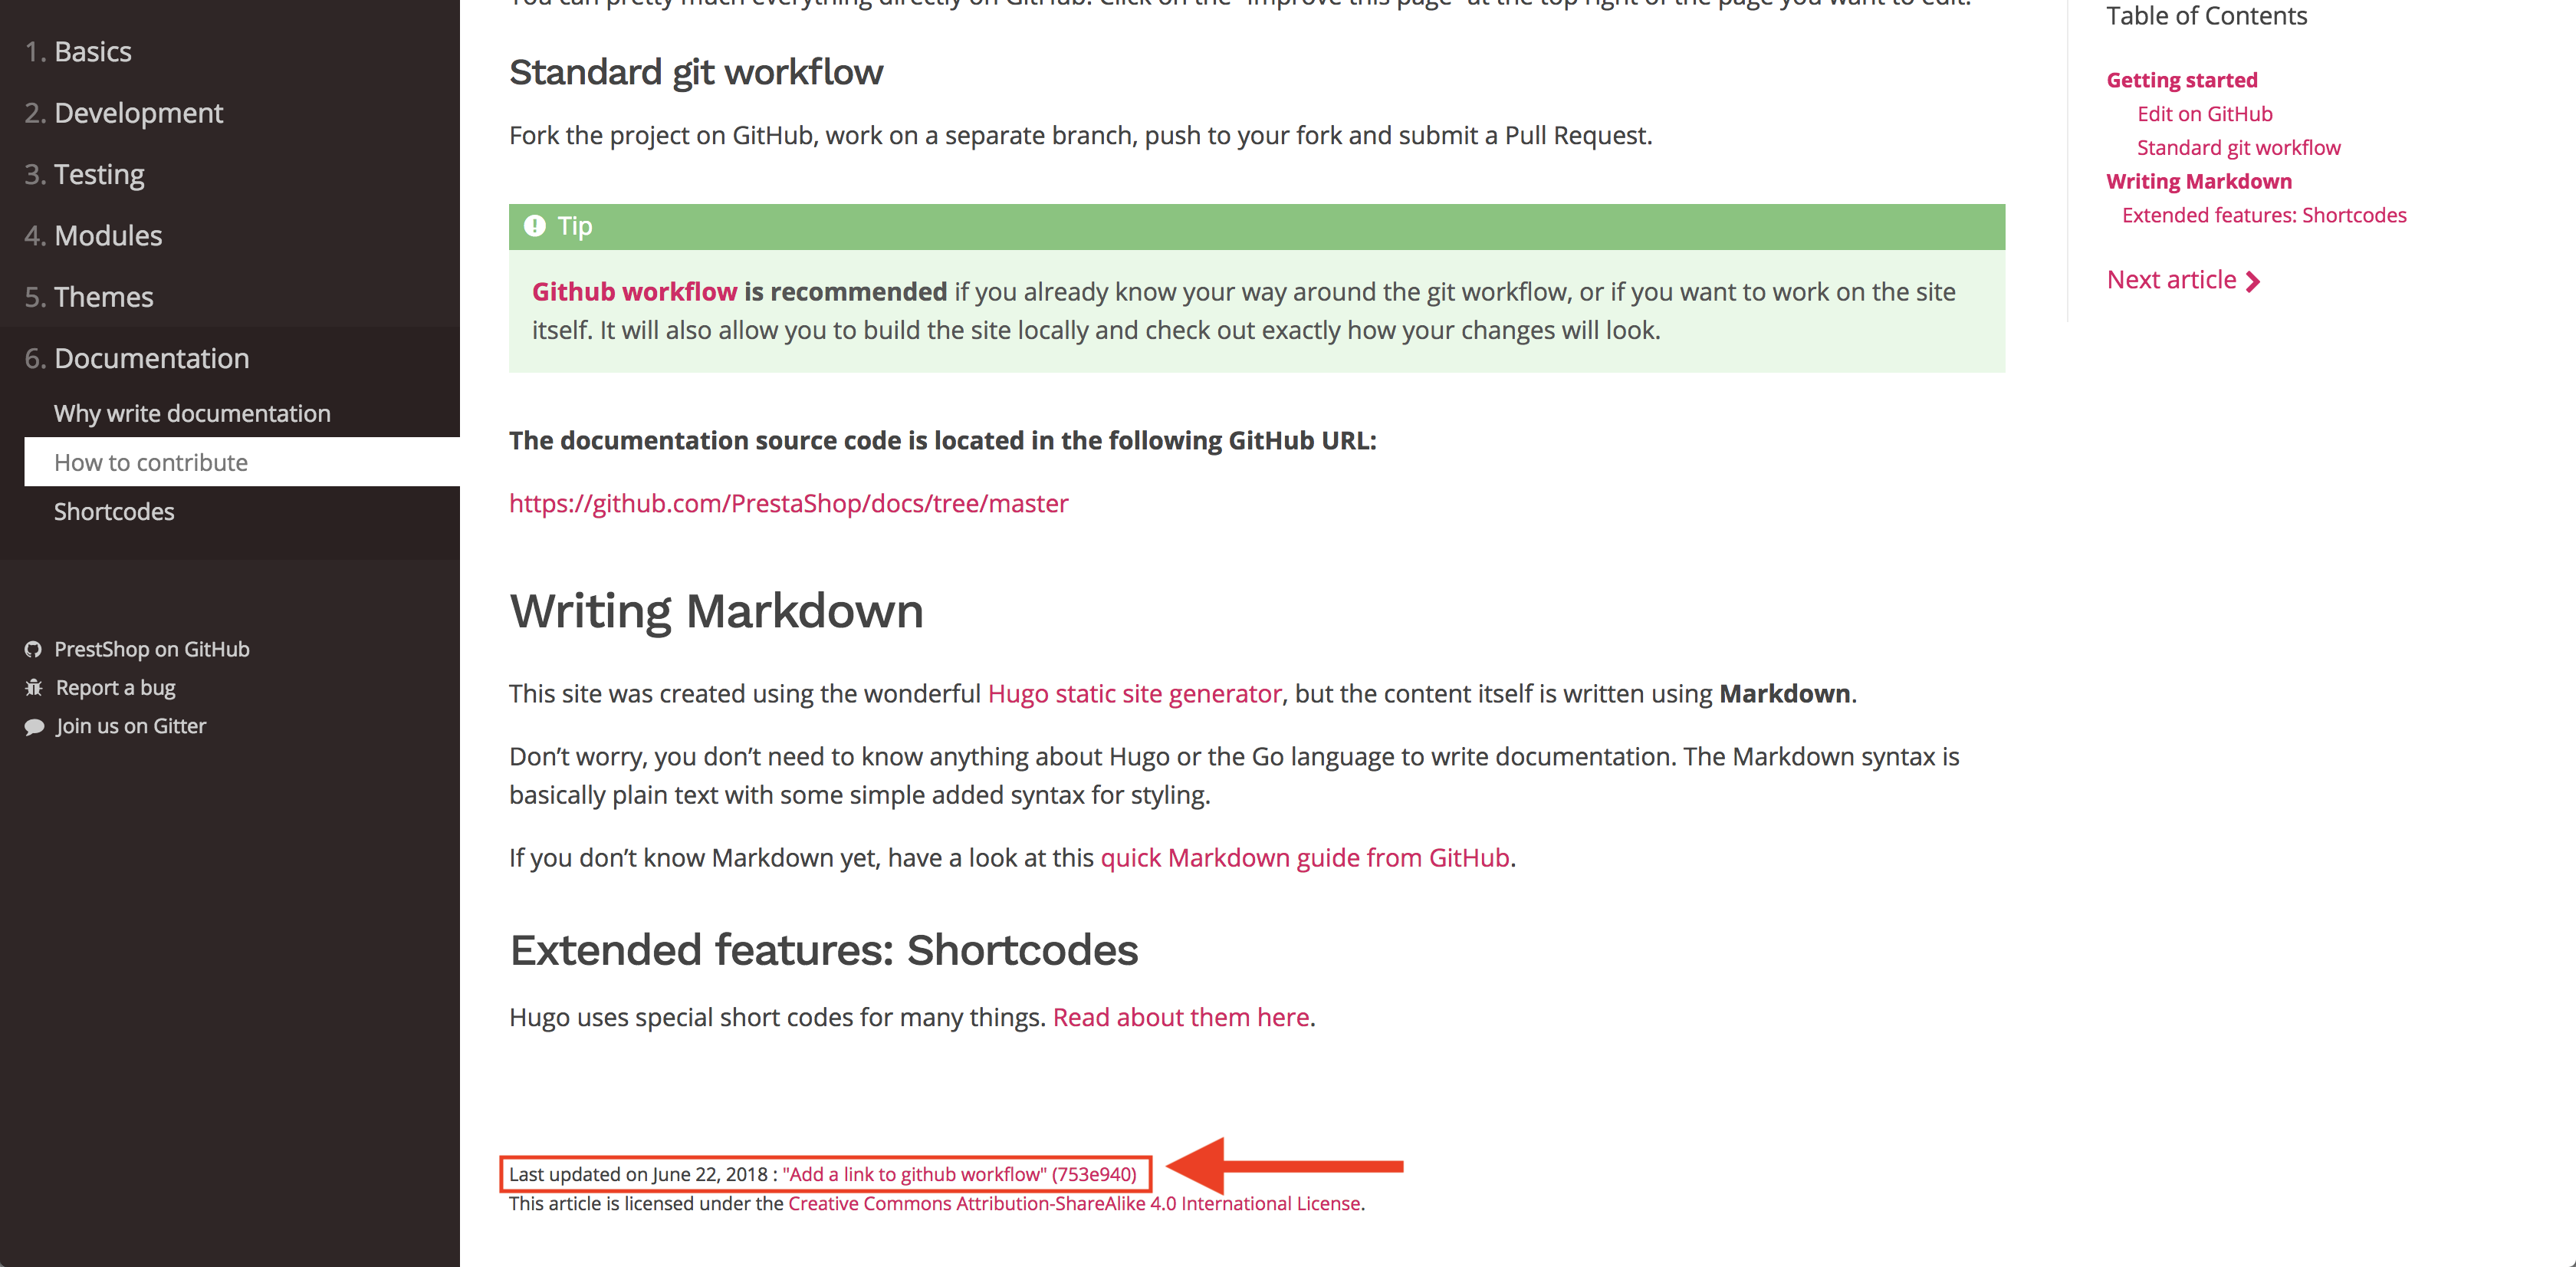
Incidentally, once your change is merged, this description will appear at the bottom of the page:
Once you click on “Propose this change”, you’ll be able to see a diff of your changes compared to the current version.
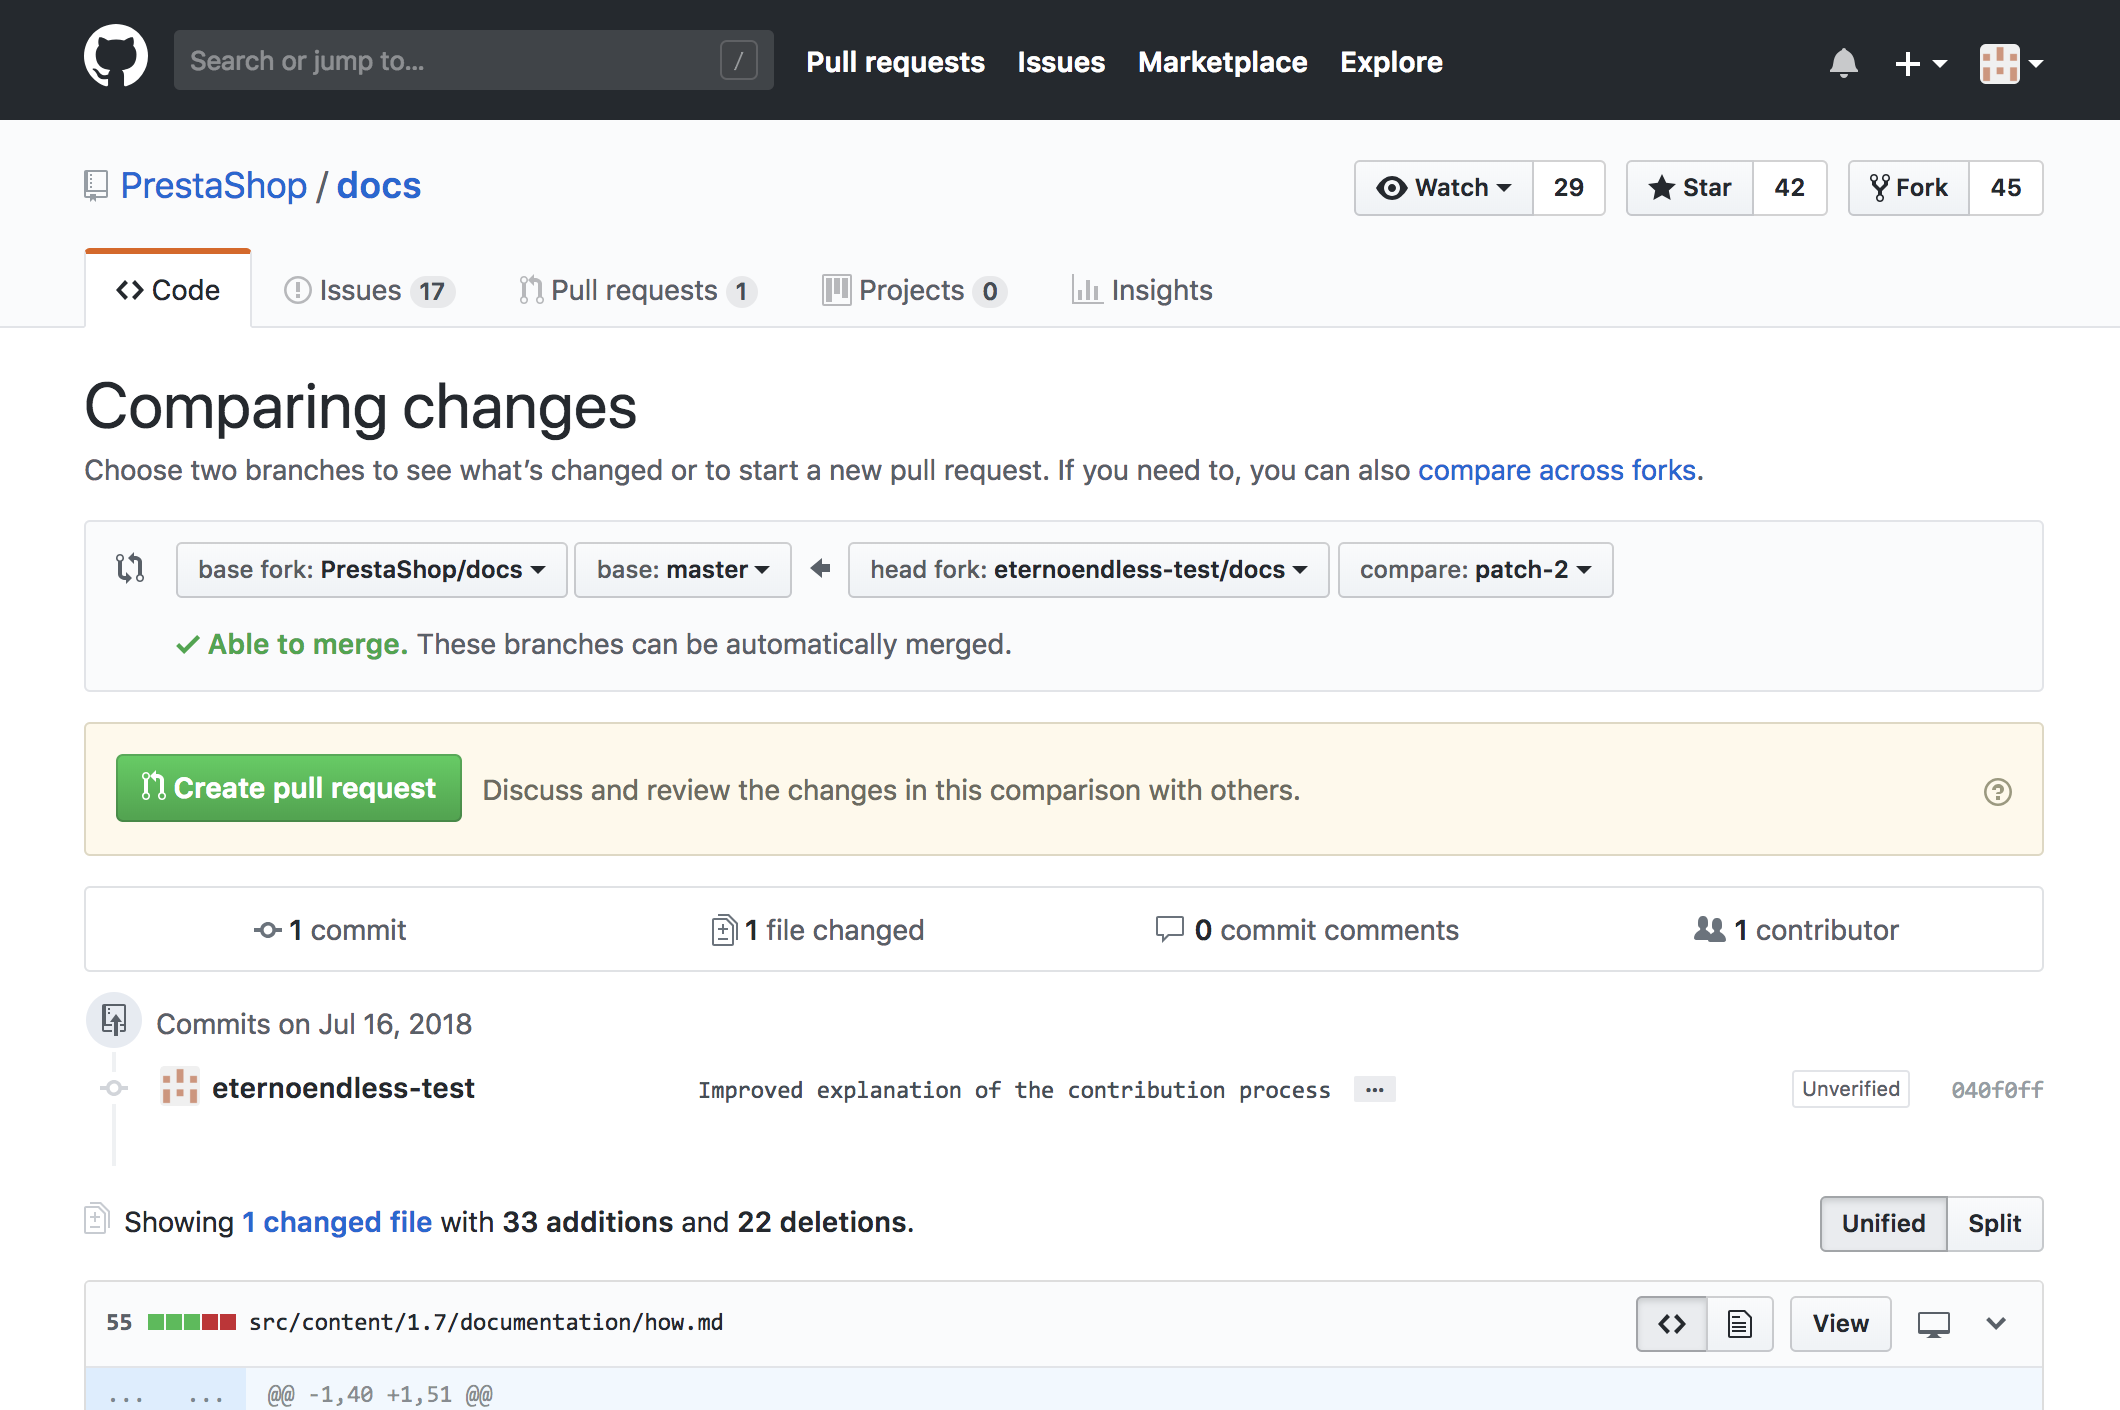
Creating a Pull Request
Click on “Create Pull Request” to start drafting a new Pull Request.
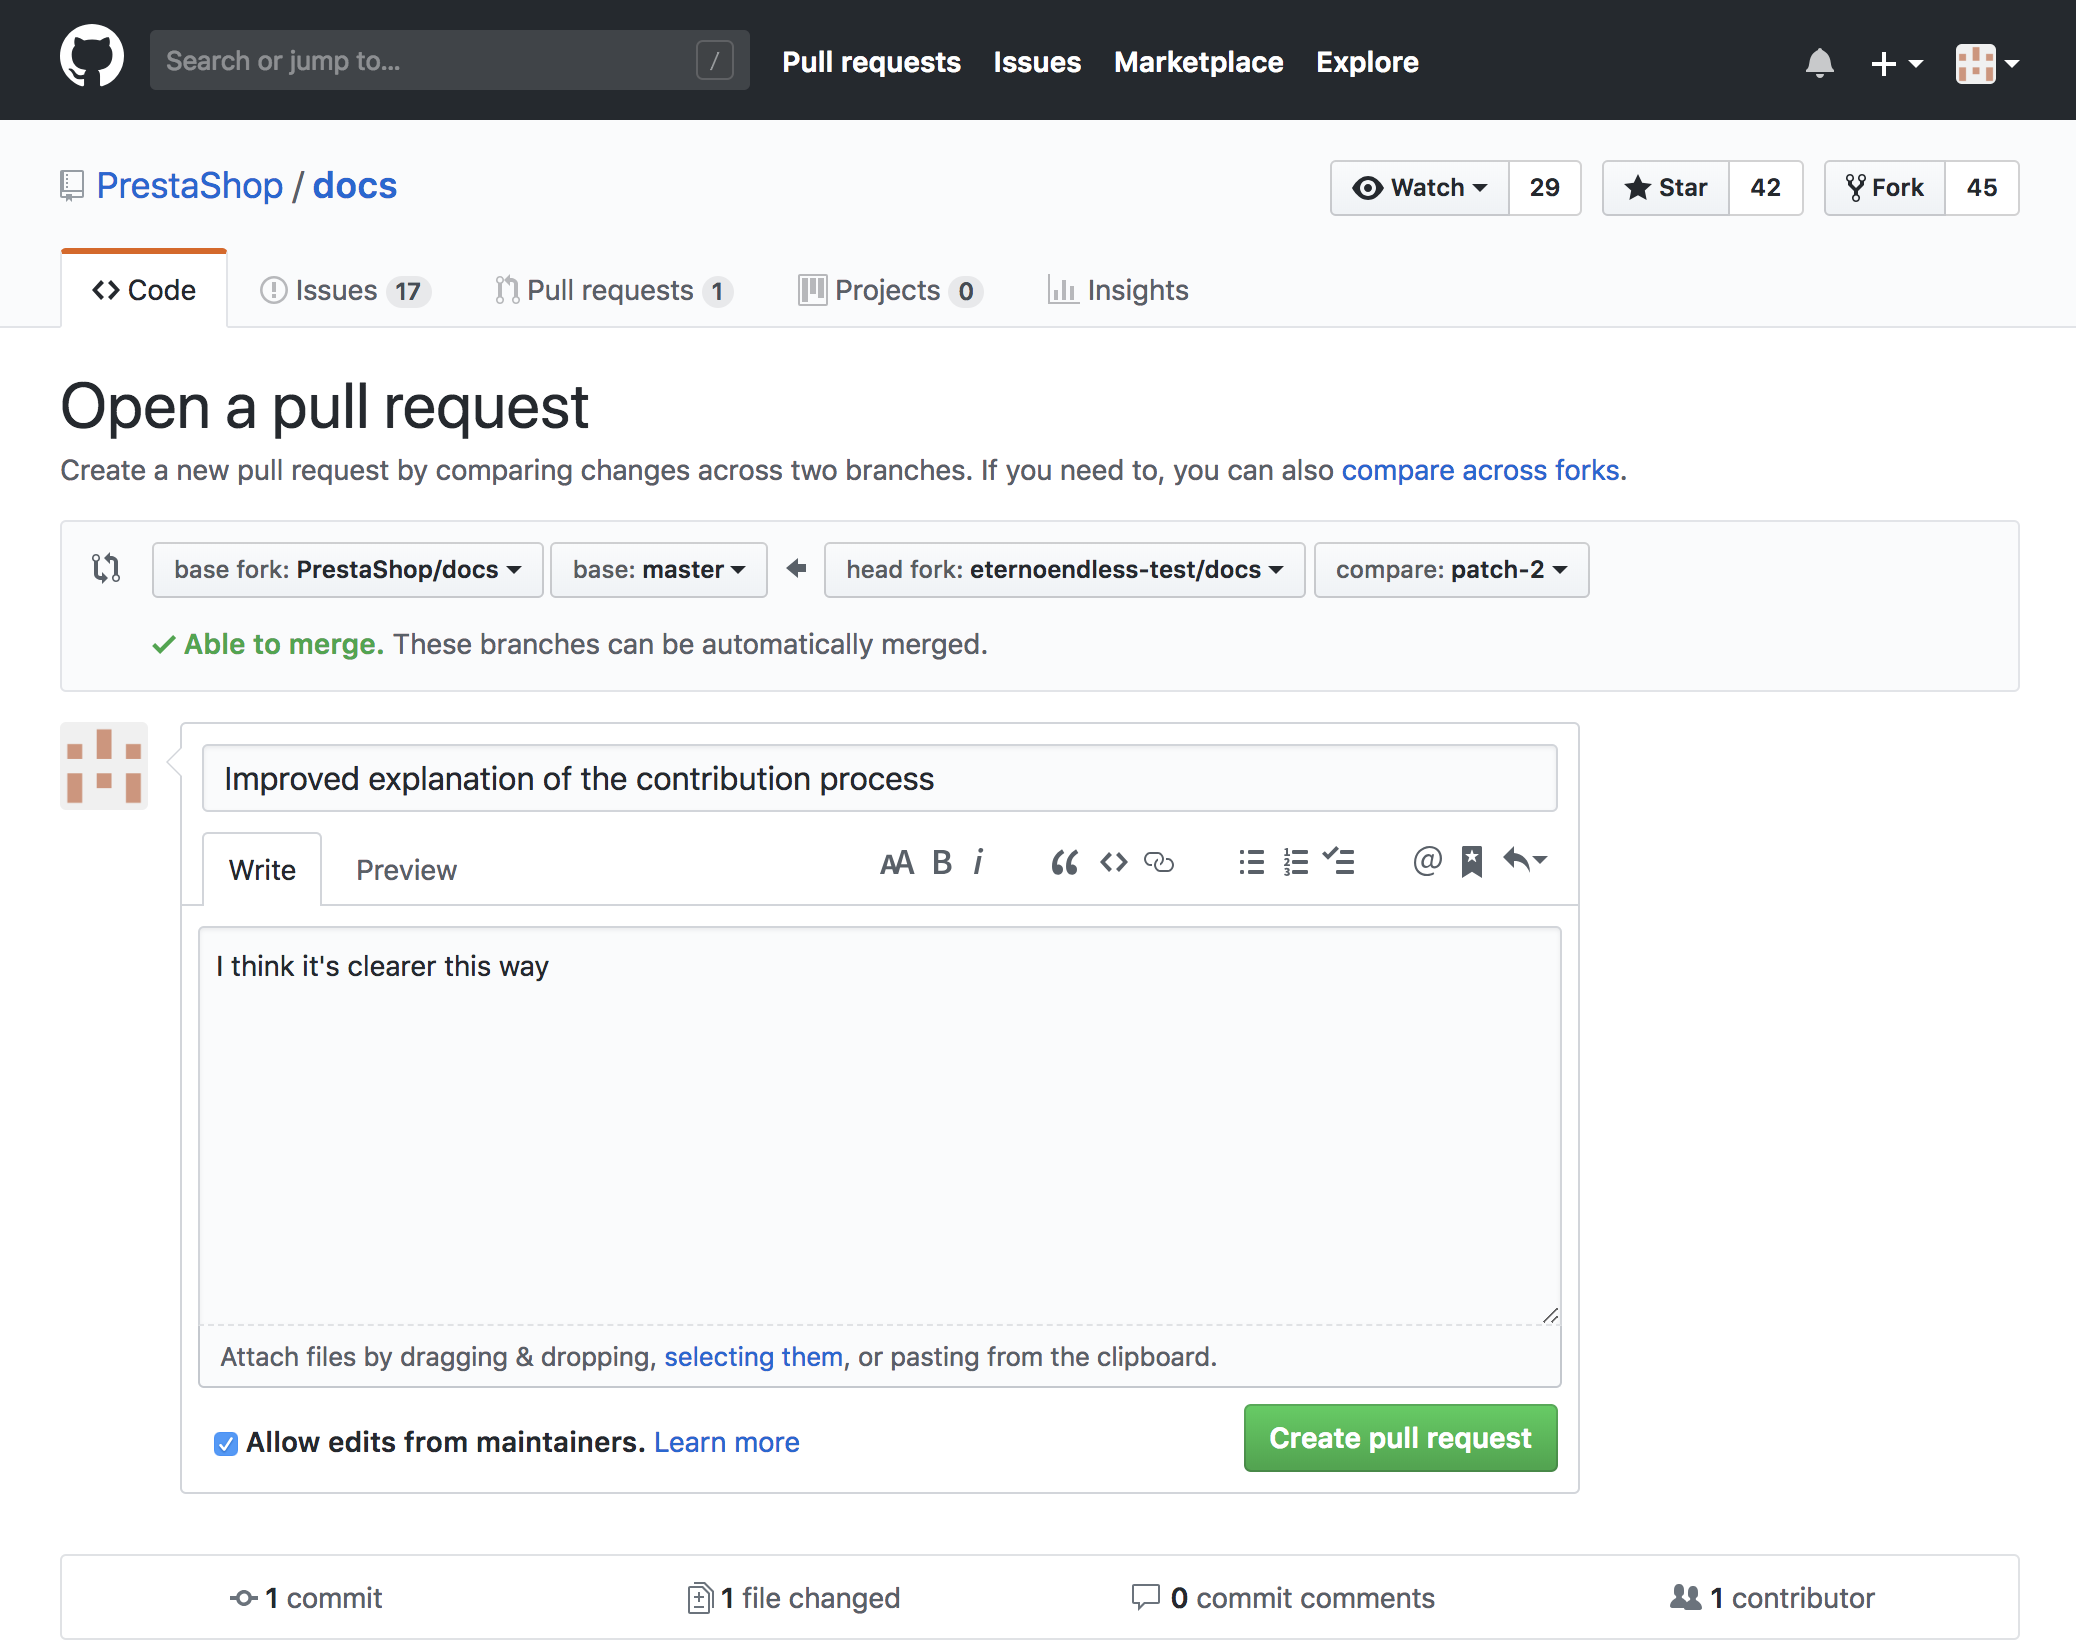
Confirm the creation by clicking again on “Create Pull Request”.
That’s it, your Pull Request has been created! The team will review it, and once it is approved and merged it will be available for everyone.