Warning: You are browsing the documentation for PrestaShop 8, which is outdated.
You might want to read an updated version of this page for the current version, PrestaShop 9. Read the updated version of this page
Testing the Webservice with Postman
Postman is a powerful collaboration platform that simplifies the process of developing, testing, documenting, and sharing APIs (Application Programming Interfaces) by providing a user-friendly interface and a comprehensive set of tools.
Some example collections of Postman requests on PrestaShop Webservice are available on our repository.
Install Postman
Postman is available on Linux, MacOS and Windows. Please follow instructions here.
How to use these examples
Clone the repository
First, clone the example repository locally:
git clone [email protected]:PrestaShop/webservice-postman-examples.git
Import a collection
Open Postman, and choose “File > Import”. Then navigate to the cloned repository, and import a JSON collection.
The collection will be available in the sidebar:

Set the Webservice URL and authorization key
Click on the collection title (PrestaShop Webservice Demo Resource), and navigate in the Variables tab:
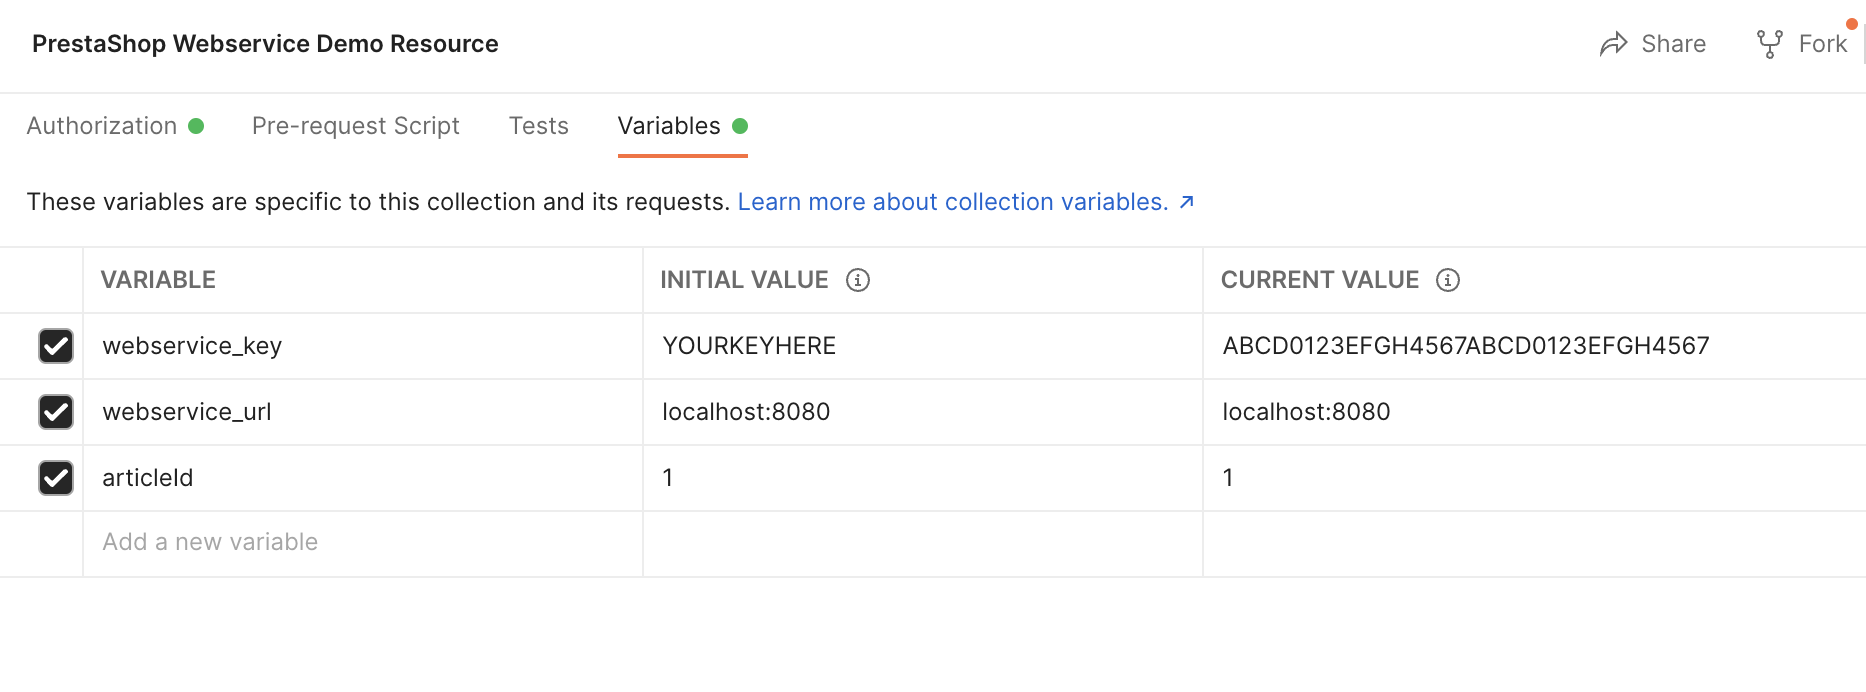
- Overwrite the
webservice_keywith your webservice key (set value in theCURRENT VALUEcell). - Overwrite the
webservice_urlwith your PrestaShop instance url (set value in theCURRENT VALUEcell).
Run examples
Confirm the connection with the Webservice is working properly by running a request:
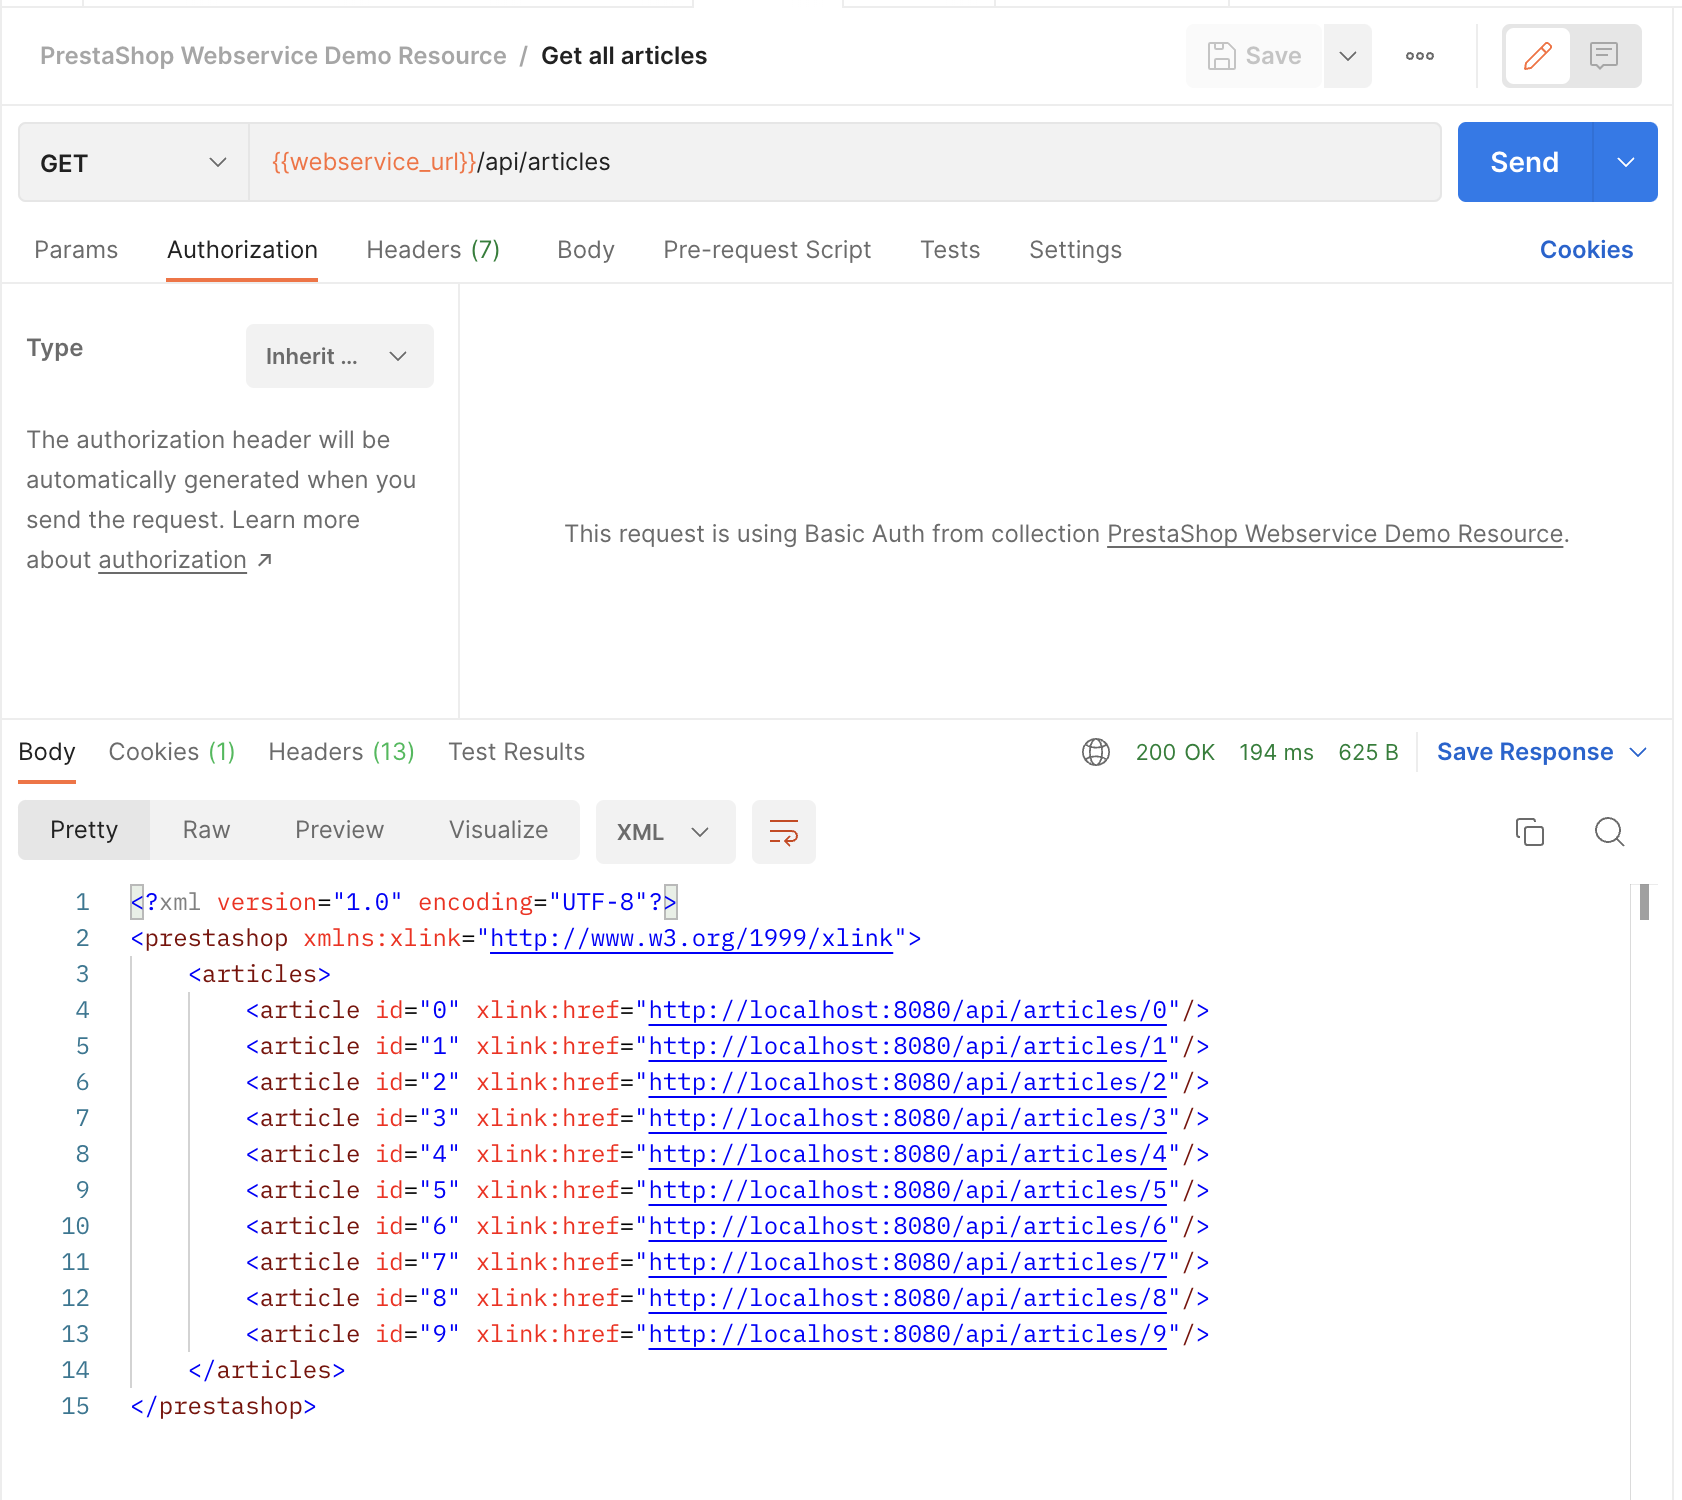
Select a request, and click on the Send button.
Product resource examples (demo_product_collection.json)
This collection shows all CRUD actions on the Product resource:
- List Products (
GET) - Get Product (
GET) - Create Product (
POST) - Update Product (
PUTandPATCH) - Delete Product (
DELETE)
Create a product from start to finish with Webservices (demo_product_creation_AZ.json)
This collection illustrates how to create a product from A to Z with all of its relations (to Brand, Category, Manufacturer, Images, etc.)
Article resource examples (demo_custom_resource_collection.json)
This collection is related to the tutorial: How to extend the Webservice with a custom resource