Warning: You are browsing the documentation for PrestaShop 8, which is outdated.
You might want to look at the current version, PrestaShop 9. Read the updated version of the documentation
How to translate your theme
PrestaShop provides a way to translate your theme to any language.
1. Add new or customize existing wordings in a theme
Adding new wordings is easy when building your theme. You simply need to edit the .tpl file of your choice and add (or customize) a wording. All wordings must always be written in english.
For example:
{l s='Read more' d='Shop.Yourthemename'}
Change “Yourthemename” to your own theme’s name.
2. Add the desired languages in your shop
It is best to perform the following steps only after your shop is ready to be exported (ie. you’re done developing it).
-
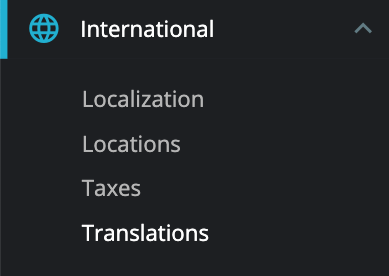
On your shop, go to International > Translations
-
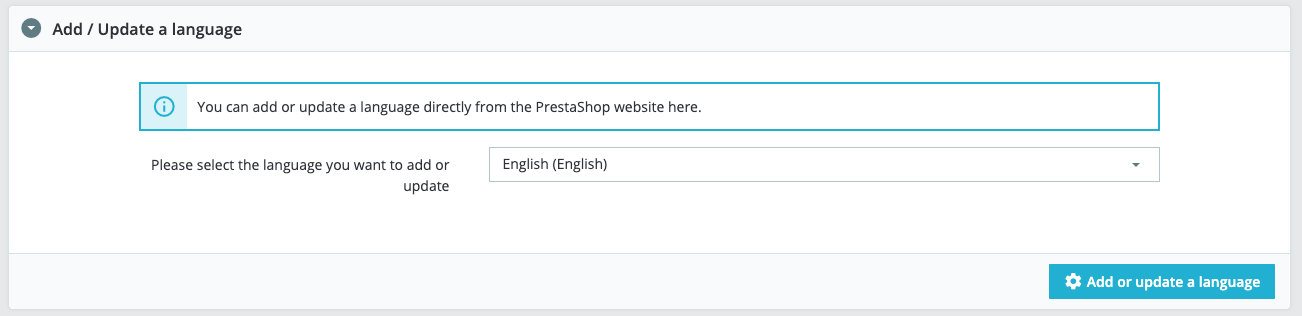
Then go to the “Add / Update a language” section and choose the languages that you wish to support in your theme.
3. Translate your theme’s custom translations
Again, on the same “Translations” page as in the previous step, go to the “Modify translations section” and choose:
- Theme translations
- The theme you wish to translate (in this example, we are translating “lifestyle”)
- Language to translate to (eg. “French”)
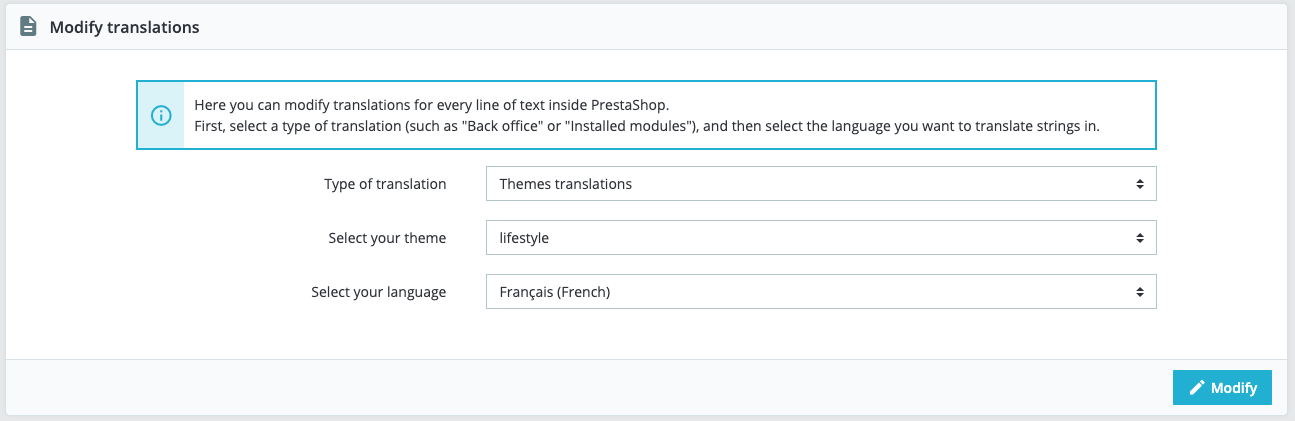
When you click on “Modify”, a new page opens up that allows you to translate your theme’s wordings. On the left column, go to “Shop” and “your theme name” (“Lifestyle” in this example).

A form appears on the right, showing all the customized wordings that you added in the .tpl files.
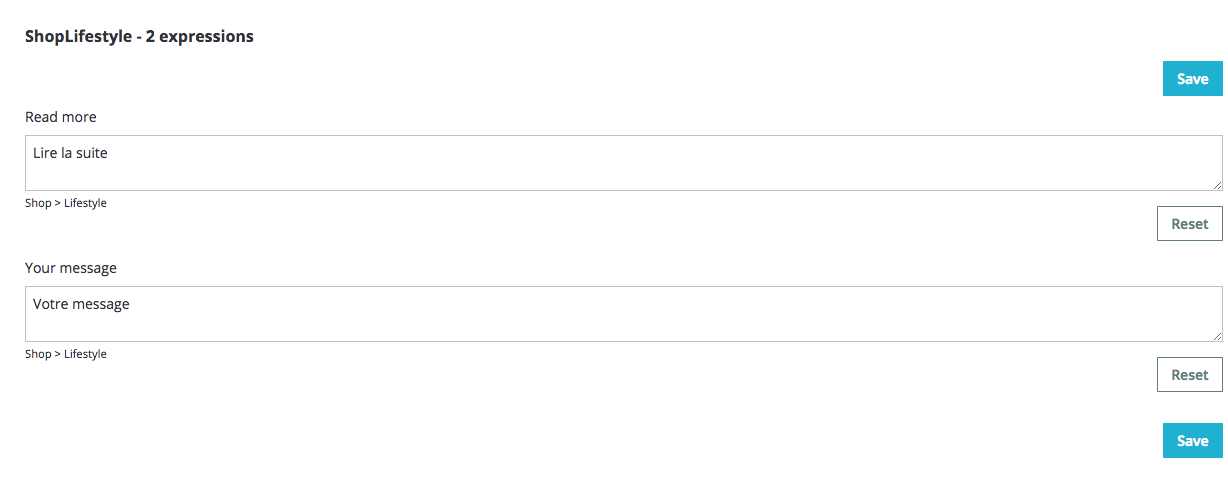
At this point, all you need to do is translate them, then redo the process for each one of the languages you want to translate your theme in.
4. Export languages
Once all translations are done, you now need to export all of the wordings that you want to include in your theme. For this, go back to the “Translations” page, then scroll to the “Export a language” section:
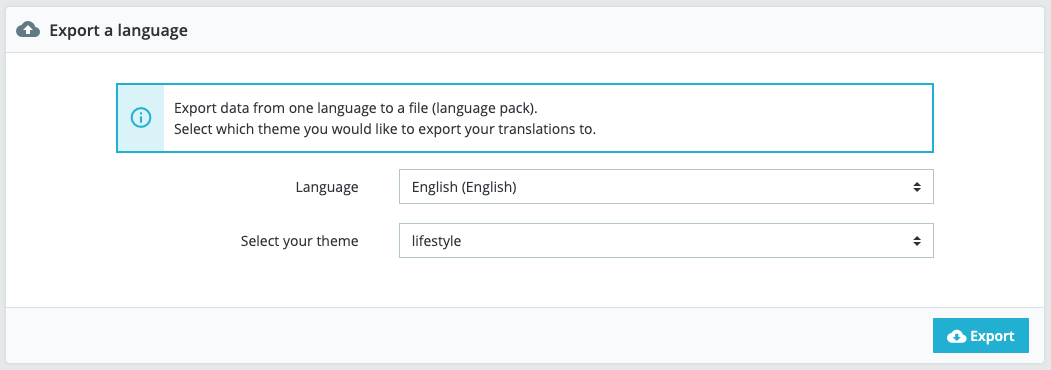
Once the .zip file has been downloaded, extract it and add this folder to your theme’s translations folder. This way, when you will export your theme, translations will be included with it.
5. Export your theme
After all the previous steps have been performed, all that’s left to do is export your theme.
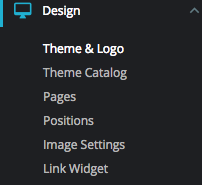
-
On your shop, go to Design > Theme & logo.
-
In this page, on the top right corner, click on the “Export current theme” button.

After this step, the theme will be zipped an ready, and will include the translations that we added before. To verify it, just unzip the zip file and check that all the files are present.